
As an affiliate, I get a small commission on purchases made from links within this post. It won’t cost you anything extra, but it helps me keep providing quality content that you enjoy!
Did you know that only 1% of all tourists at the Grand Canyon actually make it to the bottom? Over 99% of all people who visit the Grand Canyon are unable to make it all the way to the bottom of the inner canyon, or even below the Rim!
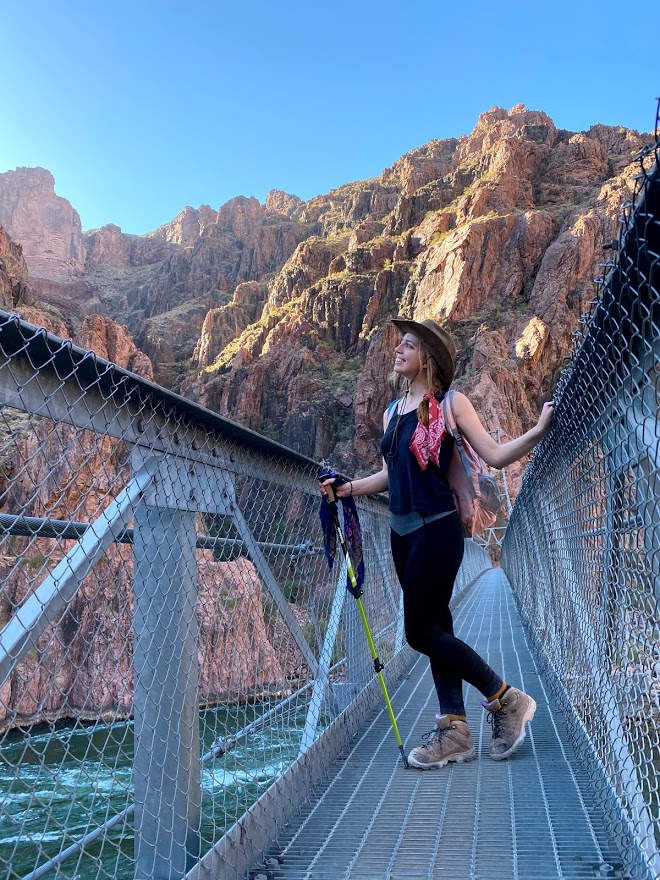
This begs the question: what does it take to be a One Percenter? Luckily for you, (and almost against my will), my friend Emily gave me the answer to this question the best way she knew how: she made me hike down the perilously-steep South Kaibab Trail, across the Colorado River to Phantom Ranch, then back up the Bright Angel Trail – a 19 mile trek that we accomplished in about 11.5 hours!
She greeted me at the airport with the question: did you bring everything I told you to bring? When I questioned why, she informed me that the following day, we would be completing this hike of the Canyon floor and back. My first bit of advice for you? PLAN THIS IN ADVANCE SO THAT YOU CAN PREPARE YOUR MUSCLES FOR THE BEATING THEY WILL RECEIVE AT THE GC!
So what does it actually take to be a One Percenter? See below for my pro-tips obtained through the cruel teacher of experience and the thoughtfully given advice from Emily, my friend/tour guide/mule wrangler:
Pack Light
Emily is quite fond of the following saying: “Going down is optional: coming up is mandatory”.
Basically, no one will be able to come get you if you decide that you’re not able to make it back up! That being said, it will make it infinitely easier to get back out of the Canyon if you pack only the essentials for your trek into the Canyon.
So what are the essentials? This post will cover that, but at the very minimum you should carry: protein bars; hydration multipliers; an extra pair of socks; extra water; salty snacks; a packed lunch; a first aid kid; blister Band-Aids; trekking poles; energy chews; and light layers.
Clip your toenails
This may sound weird, but believe me, your feet will thank you!
When hiking downhill, if your feet are not properly secured in your boots, then with each step, your foot slides to the front of the boot. If your nails aren’t clipped, then each time your toes strike the front of your boot, the nails are pushed back and forth, creating a constant friction that will result in blisters forming underneath your toenails and causing an unbelievable amount of pain.
I know this from experience. If the blister is bad enough, sometimes your entire nail will fall off! Luckily, my blisters weren’t so bad, but they’re still healing even months later.
To prevent this from happening, you should:
- Wear boots that are tightly tied to your feet and don’t slip (I prefer boots with ankle support for this reason! I tighten the laces especially around the ankle so that my feet don’t move within the boots)
- Clip your toenails in a straight line (do not round them out!)
- Wear thick wool socks, and bring a spare pair for later. Your first set of socks will get absolutely soaked from sweat, and your feet will cry tears of joy when you swap them out for a fresh pair!
Bring a second and even a third pair of socks!
I said this at the end of the last paragraph and I’ll say it again because it’s so freaking important: Bring an extra pair of wool socks with you! You would be amazed by how uncomfortable a pair of socks can get, and believe me, you don’t want to find that out when you’ve still got ten miles to hike! (#RIPmyfeet)
Trust me, when you slide those fresh bad boys onto your feet, you will cry tears of joy. It’s a pleasure like none else, and you will thank me when you reach the top, your feet still happy as clams in their fresh socks. So I’ll say it one last time for the people in the back: BRING *clap* FRESH *clap* SOCKS *clap clap clap*.
bring at least 2 liters of water, and fill up whenever possible
Two liters sounds like a lot of weight to be carrying on your back….until you find yourself only halfway down the South Kaibab trail with no water and no filling stations for 4 miles! Without sufficient water, you risk dehydration and heat stroke, which are the last things you want to be suffering from when hiking in the Grand Canyon! Especially on the Bright Angel Trail and at Phantom Ranch at the bottom of the Canyon, be sure to refill every bladder and water bottle you have at every opportunity!
Camelbak is currently having their winter sale on select products, be sure to take advantage by clicking the link below!

You’d be surprised by how much water you need for hikes such as these, so I always recommend bringing a large Camelbak bladder, plus a separate metal water bottle. Why do you need both? See the next point below:
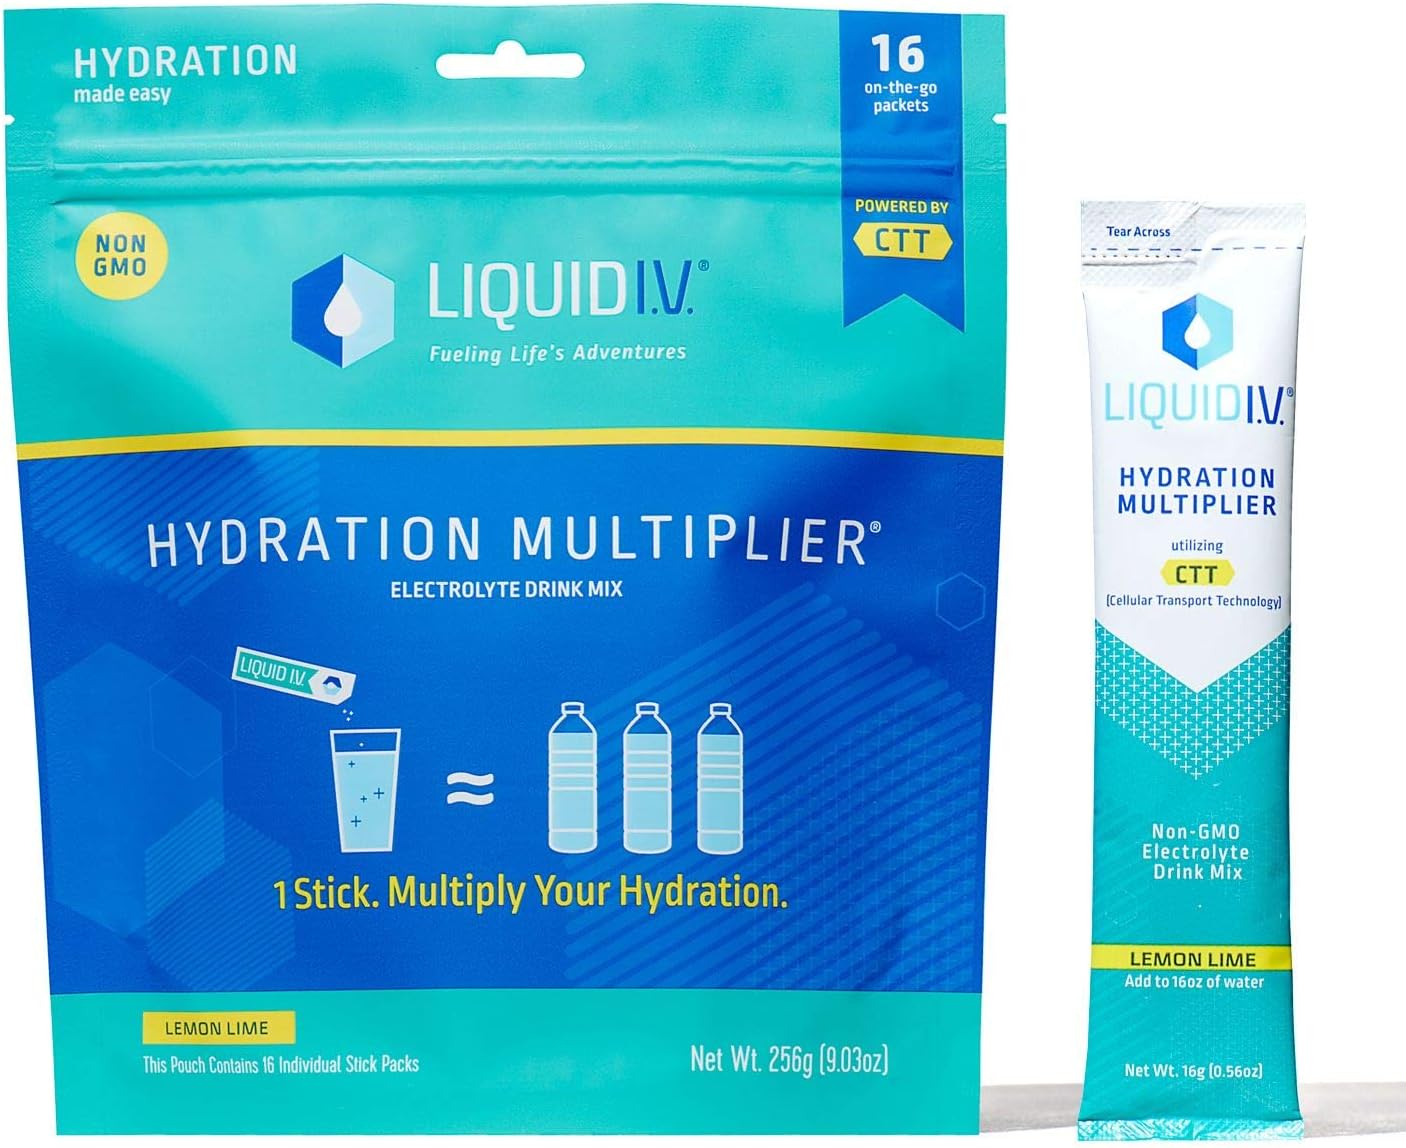
Bring several hydration powder packs
Hydration packs are your new best friends. Please, introduce yourself, get to know each other, get comfortable, because by the end of your hike, they will be your salvation.
However, do not put any hydration powder into your Camelbak bladders! The powder could get caught up in the hose system, could coat the inside of the bladder, or distribute unevenly. Instead, bring a separate metal insulation water bottle for your hydration powder packs. Every time you take a sip from your Camelbak, do yourself a favor and also take a good swig from your water bottle as well.
These hydration powders are packed with electrolytes, potassium, and sodium, which will stave off dehydration, relieve sore muscles, and prevent muscle cramping. I recommend using the Liquid IV hydration powders for your hike, they were lifesavers for me!
invest in good hiking boots
Good hiking boots can make or break your hike. On my hike into the Grand Canyon, I wore these Hitec Women’s Bandera Mid-Rise Waterproof Hiking Boots, which worked wonderfully to protect my feet from blistering. They were deeply cushioned yet sturdy to provide solid footing while also cushioning my feet to help reduce the impact of the steep incline and reduce blisters. However, they were also much heavier than your standard boot, and while my feet may not have been too deeply impacted by the hike, my legs were worked much harder because of the weight of the boots.
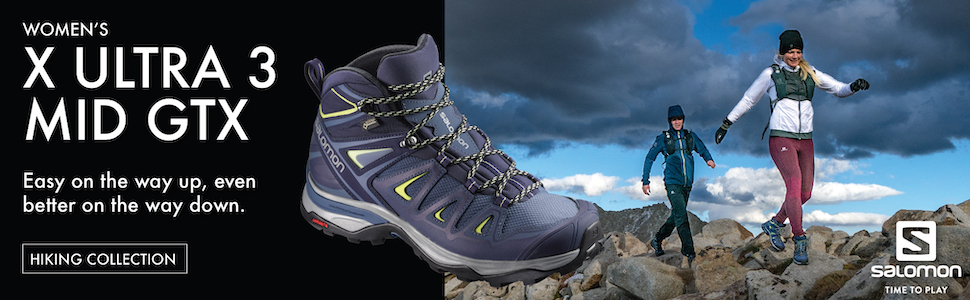
That’s why I recommend getting these Salonen Hiking Boots if you’re serious about hiking. Lightweight, water-resistant, and breathable, these boots are the whole package and provide enough support for long treks while also remaining light enough to be easy on your legs. I’ve taken them out for several 7-mile hikes, and they are lighter than you can believe! Just be sure to break them in before you go to the Canyon, otherwise you may find yourself with a few blisters!
However, if you’re on a budget, the Hi-Tec boots will definitely get the job done and protect your feet on the trails! Shop the boot styles below:
bring the right kind of snacks
When you’re hiking a terrain as rough and tenuous as the Grand Canyon, you’re going to burn a lot of calories that you need to replenish quickly and effectively. That’s why you need to be really smart about what kind of snacks you bring with you! Don’t waste precious space and wait with things like Luna bars or Welches gummies – these will not provide the kind of sustenance that you need for the long-haul ahead of you!
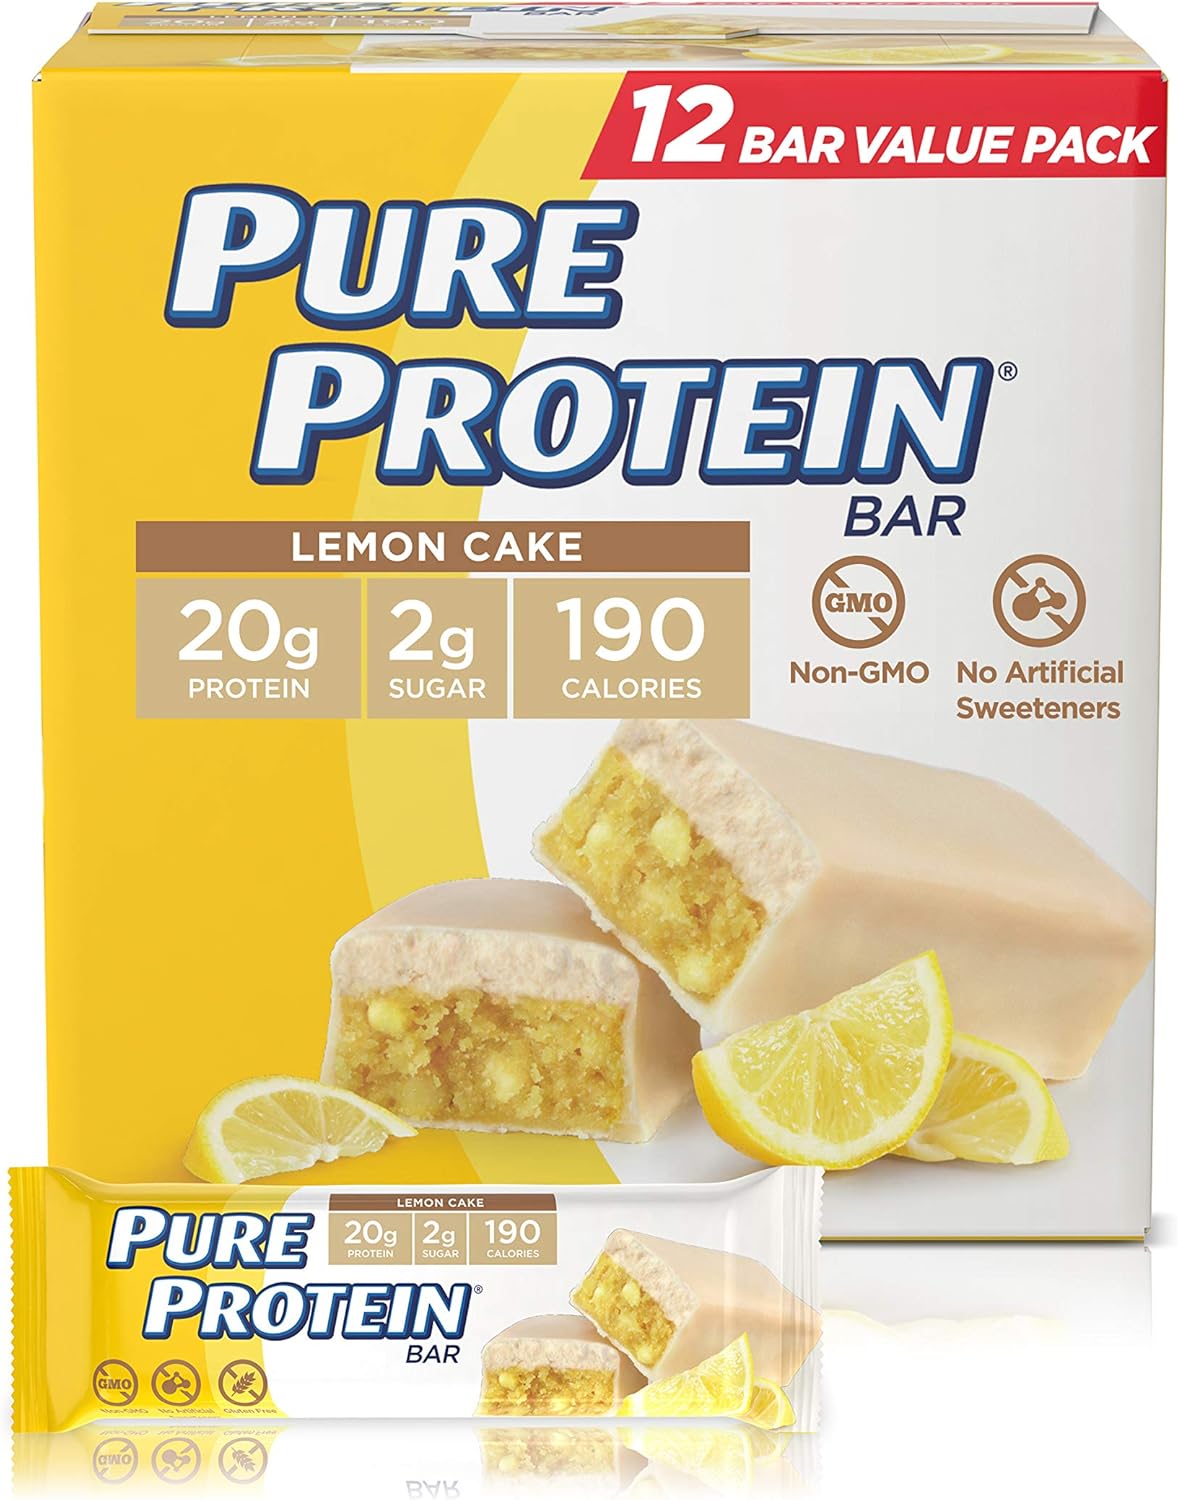
Instead, bring snacks that are packed with protein and fat, and I mean the good kind of fat! These Pure Protein bars taste amazing, are packed with 20 g of protein in nearly 200 calories per serving, making them a great mid hike snack.
Clif bars are also an excellent option for replenishing your energy! While they generally only have 9 to 11 g of protein, these will help replenish your calories and give you a boost in energy from the sugar content!
Also be sure to bring nuts like pistachios, pecans, walnuts, etc. These are packed with a good kind of fat that will result in a burst of energy and help get you through the zone long journey ahead!
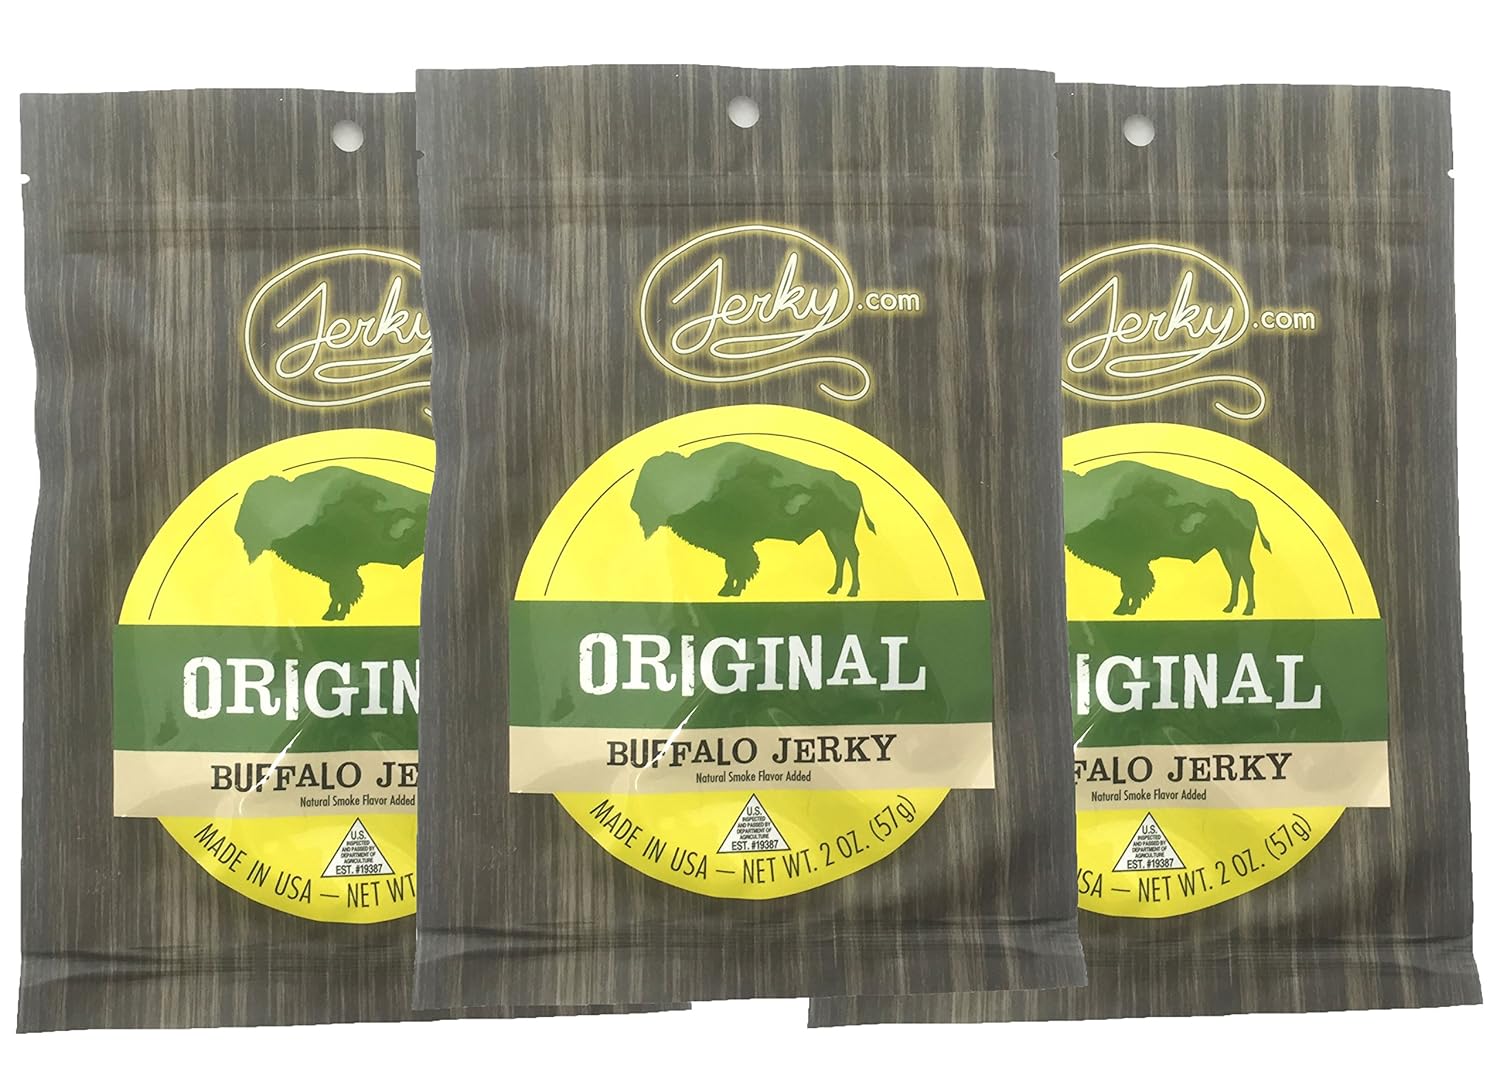
Another incredible source of protein is jerky! I personally am a big fan of these pork belly bites, turkey jerky, and tender buffalo jerky, but really any jerky that you can get will help provide enough protein to help your muscles rebuild them selves and keep you feeling strong!

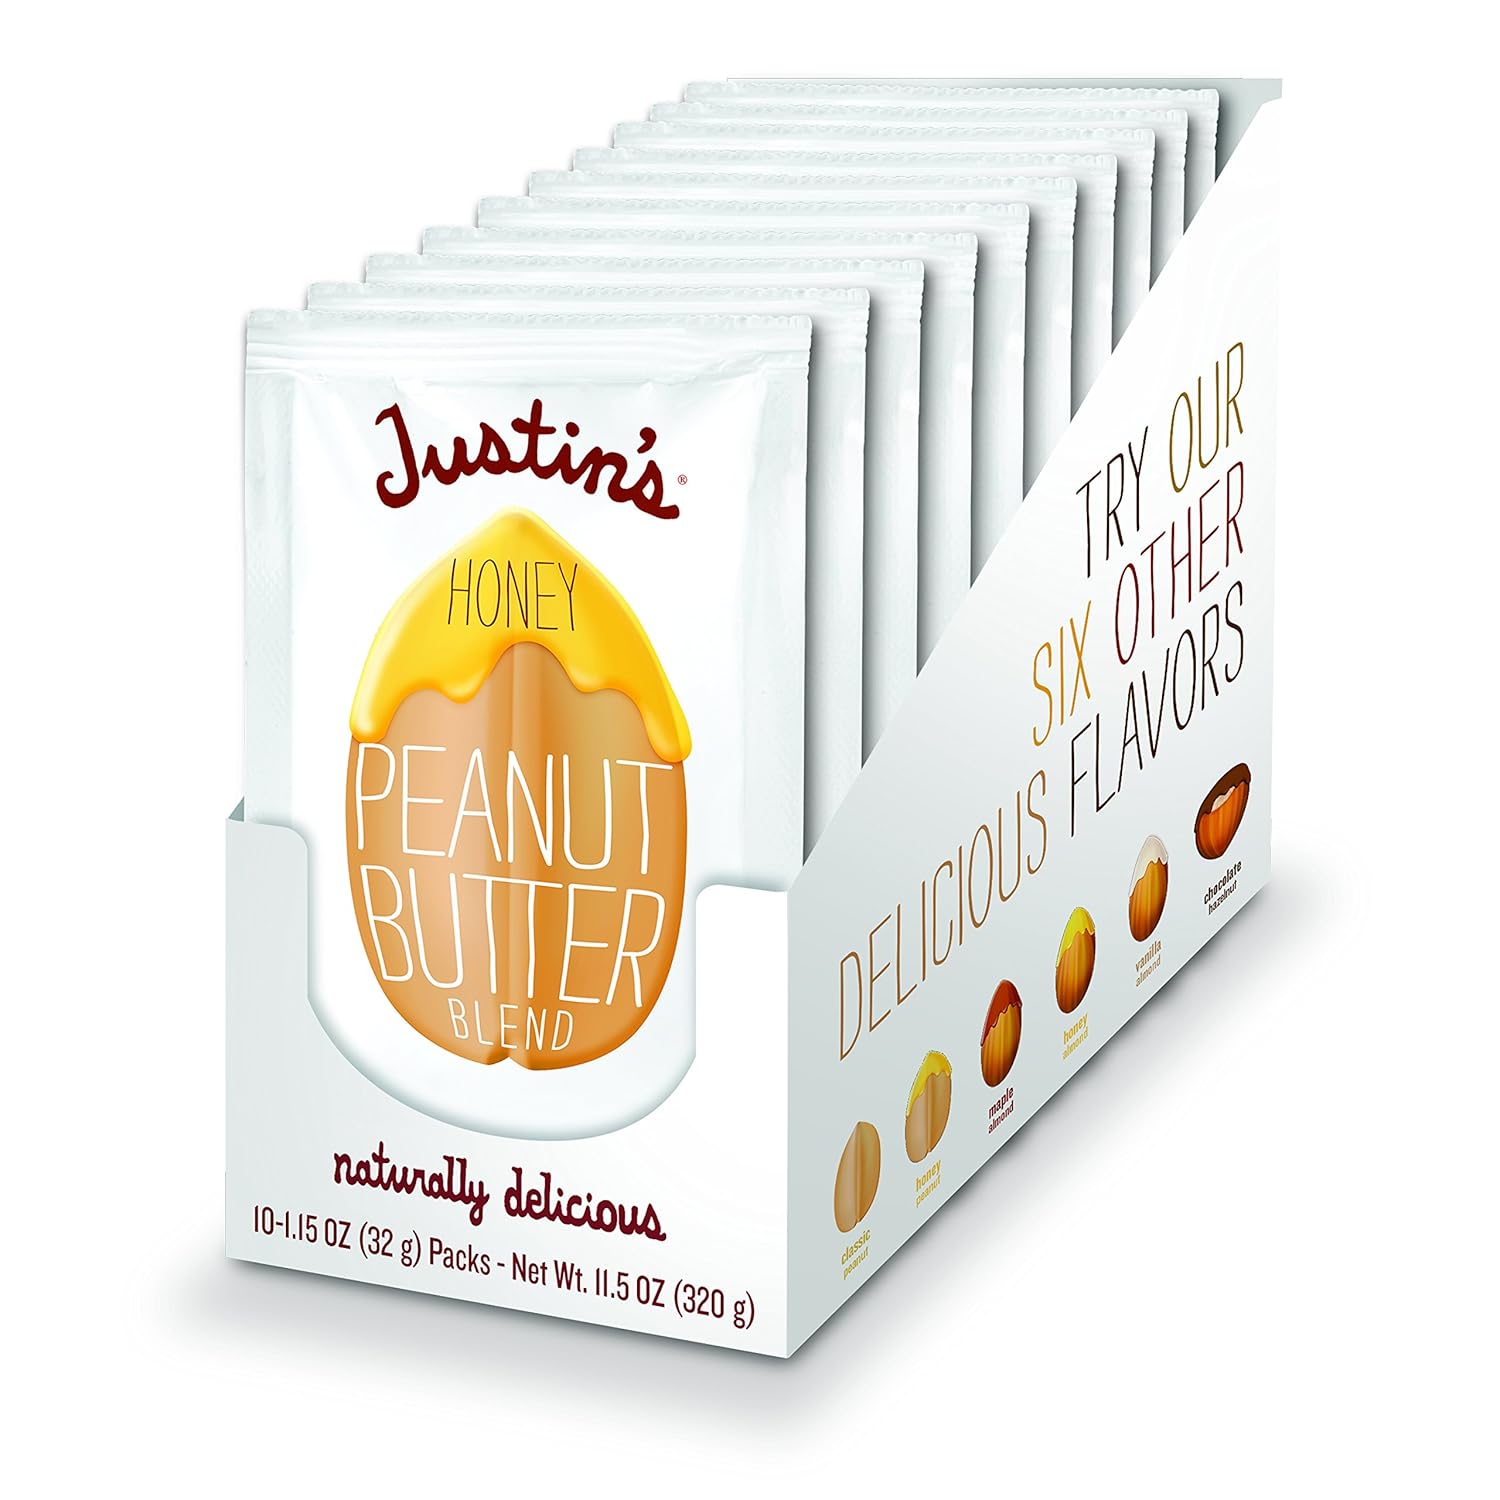
Lastly, Emily advises that you should carry some salty foods with you too, as these will help with hydration and energy, so bring these handy little packs of Justin’s peanut butter! I personally was a big fan of the honey peanut butter pack and the maple almond butter pack!

freeze your lunch the night before your hike
Man cannot live on bread alone, and neither can you Live on protein bars alone! My handy pro tip for hiking in the Grand Canyon and still having a delicious lunch? Make a sandwich and freeze it the night before! By the time that you make it to the bottom, your sandwich will be thawed and still cool and a pleasant respite from freeze dried snacks!
bring trekking poles – and use them correctly!
Before your hike into the Canyon, buy yourself a pair of trekking poles and thank me later! Anyone who attempts to scale the Canyon without trekking poles are much bigger believers in their own abilities than I am, but they will certainly be the ones who end up crawling out the Canyon by the end of the day!
By using trekking poles, you will help save your legs in the long run – they work by absorbing the impact of each step and reducing the amount of wear and tear that your muscles and knees experience, especially when going downhill. Be intentional with how you use your trekking poles too! I see people just gently placing them mindlessly along the trail as they walk, and this is absolutely not what you’re supposed to do.
Instead, each step should be preceded by one of your poles, especially when going downhill. The pattern of your steps should be: pole, step, pole, step. If you’re taking a step before you place the pole, then you’re not doing anything and you may as well throw your trekking poles away!
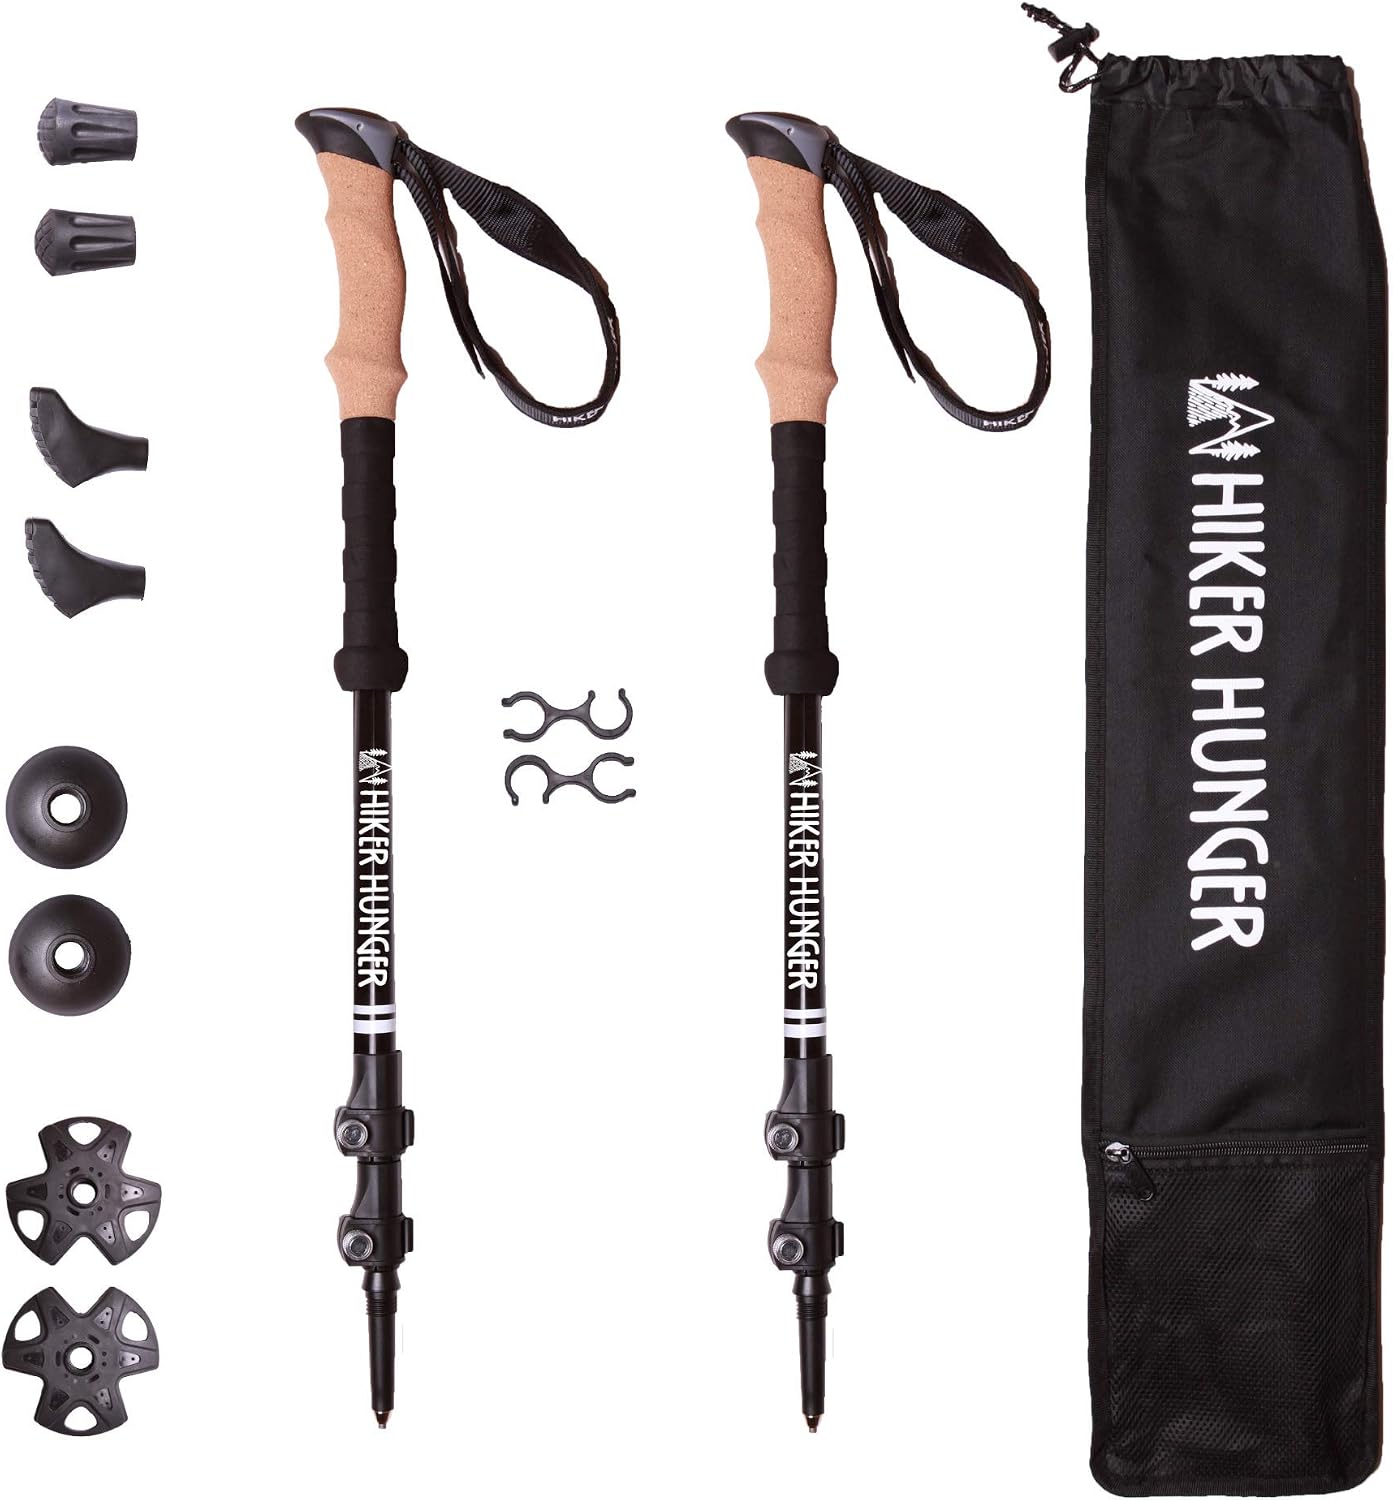
Be sure to get poles that are sturdy yet adjustable, as your pole should be longer when you’re going downhill, and shorter when you’re going uphill. If you’re not able to adjust the pole, they will be of less help to you!
These are the trekking poles that are on my own personal wishlist!
energy chews are your new best friends
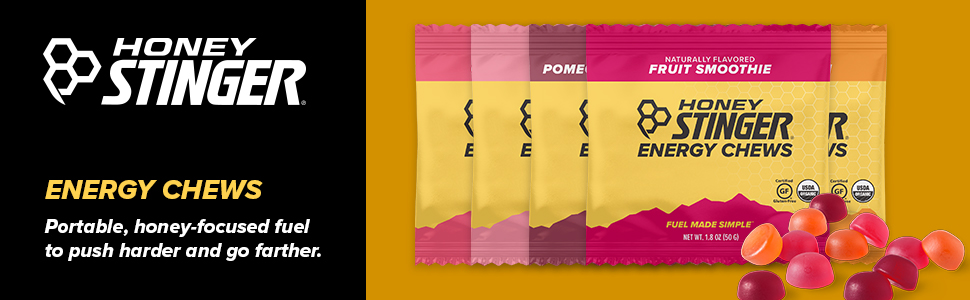
About 8 miles in, you’ll likely start feeling your energy is lagging. That’s when these little guys will be come to the rescue and save the day! I personally prefer Honey Stinger energy chews. The chews come in the form of gummies that taste awesome and provide a burst of energy because it is made with honey, easily digested and quickly absorbed, and provides sustained energy without a crash!
The way that I recommend you use them is, after you stop for lunch, eat several energy chews before you get up to leave, as these will prep your muscles for the journey ahead. Bring several extra packs to help continue to re-supply your fuel levels and keep you going!
I also really love the Honey Stinger waffles, which provide the same benefits as their energy chews, but in a delicious gluten-free organic waffle inspired by the Belgian Stroopwaffle. It’ll feel like you’re eating dessert more than replenishing your energy for a grueling hike!

If you don’t like gummies or Stroopwaffles for whatever reason, jelly belly makes delicious sport beans, which are like jellybeans but contain carbs, electrolytes, and vitamins, as well as caffeine! I like these for when I need a quick burst of energy, especially when I feel like I can’t move anymore. They are very effective add delivering electrolytes to your system and help protect muscles and cells against oxidative damage. If you use these, be sure to consume with water every time.
soak your feet in the colorado river

Congratulations, you’ve made it to the bottom of the Canyon and you’re officially a One Percenter! Celebrate by kicking your shoes off and soaking your feet in the Colorado river at Pipe Creek Beach!
The cool water of the Colorado river will have a surprising affect on your feet. The Native Americans who used to live here traditionally said that the Colorado river has magical healing properties, and their Warriors used to bathe in the Colorado river after sustaining injuries in battle. I truly believe that there’s something special about the Colorado, for after I had soaked my feet and calves in it for just 10 minutes, I felt like a new woman!

Did I miss anything? Are you also a One Percenter? Share your conquests and travel tips in the comments below!
